Django Introduction
Introduction
Python’s CGI library is good enough for writing websites from ground up. But we need to put a lot of effort into it
to build a usable and secure website. When building a web application we often come across some common tasks like
authenticating users, connecting to a database, sending emails to users, a reliable admin interface to manage and add
content to our site, etc. If we solve all of these problems ourselves, it is time-consuming. That’s were Django comes
into play. All common tasks in building a web application have been put into a Python package and it is called
Django web framework.
Django was initially built for a news publishing website. News publishing environments often require rapid development and release cycles. Sometimes you need to build new features and do an overnight deployment. It needs a robust admin interface to publish new articles quickly. Django helps us to do all of these tasks effectively and rapidly. Django is sometimes referred as “Batteries are included”. It means whatever common tasks you will need to do when building a typical website, it is already solved in Django. All we need to do is figuring out what are all the APIs are available and learning about how to use them effectively.
Note: If you want to try a lightweight framework, take a look at the Flask framework. {: .notice–success}
Installing Django
Installing Django is straight forward. pip install django will install the latest Django version. If you want to install
a specific version you can do pip install django==2.1. In this case, Django version 2.1 will be installed. To check if
it is correctly installed open python shell and import Django.
| |
Tip: In the above commands I have used mkvirtualenv command to create a new virtual environment. It comes with the Python
package called virtualenvwrapper. It is a very convenient tool to create
and mange Python virtual environments. Take a look at it if you are interested.
{: .notice–success}
And then in Python shell,
| |
Creating First Django Project
Now we are ready to build our first website. Django comes with a script called django-admin. We can use this
script to create new projects. Let’s create a new project.
| |
In the mysite directory, you will see the following file structure. Don’t worry about what to do with these files now. We will learn this in upcoming posts.
| |
Now let’s run a development server locally to see our website.
| |
And the output will be the one like below. It is showing in which URL we can access our website. Our development server is running in localhost and listening to the port 8000.
| |
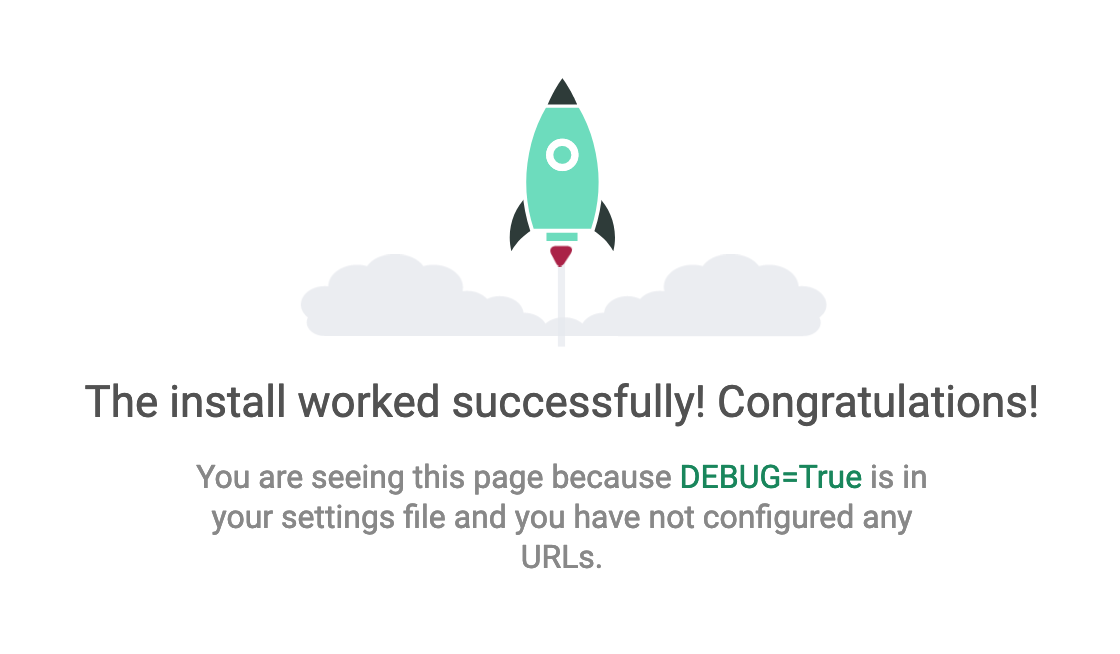
Now let’s open http://127.0.0.1:8000/ in a browser. We can see our website is up and running. Whatever shown on that
page is Django’s default page. We will override it and put our content later.
That is all about it for now. We will do some real development in the next post.